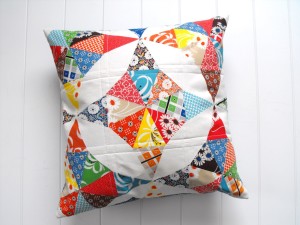
Photo Pillows Awesome Gift: Photo Pillows Australia
After you chose and printed the photo for cushion, do the pillow yourself or buy a ready one. In the first case, fill it with rice or another grain. The alternative is birds’ feather. Prefer waterproof geese for such purpose. And now we start the most responsible stage in our diy photo pillows project. You need carefully follow the recommendations of your transfer paper manufacturer. Before start ironing the photo on a cushion, trim its front and back sides leaving a half inch border around the image.
Here is important recommendation on good for gift. We have the cool method for good for gift. Check it out for yourself! You can find Photo Pillows Australia guide and look the latest Photo Pillows Awesome Gift in here.
Back to Photo Pillows Awesome Gift