Photo Pillows DIY image and description
The charming image below, is part of Photo Pillows Awesome Gift document which is assigned within Pillows, good for gift, diy, and published at May 25th, 2016 13:03:44 PM by .
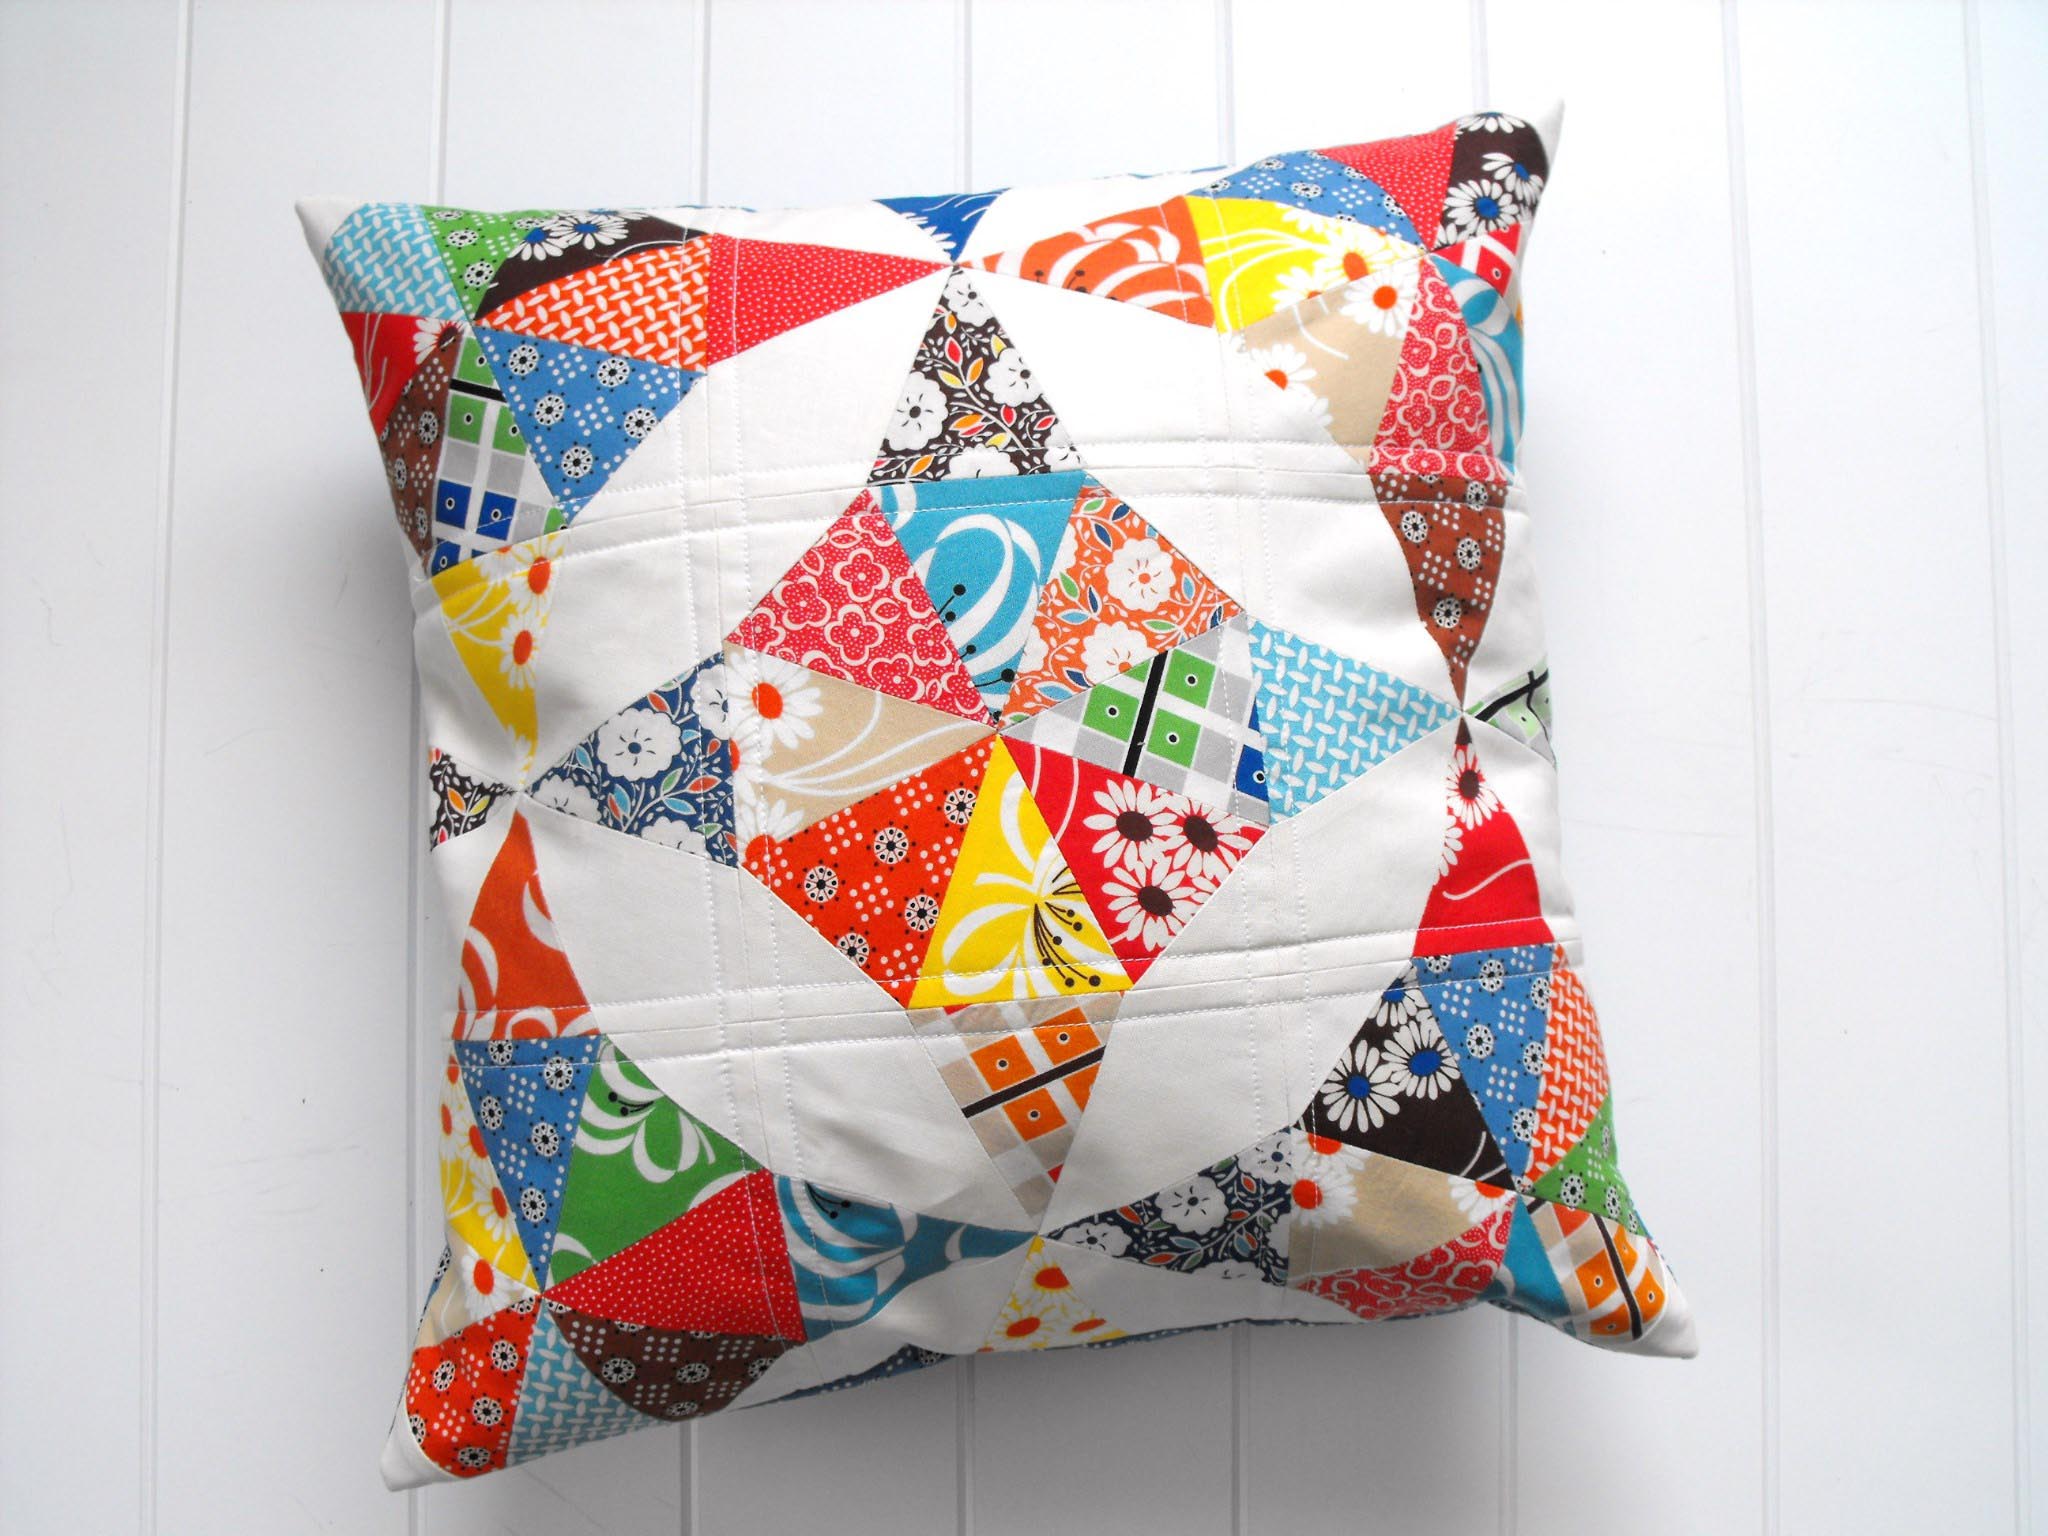
Photo Gallery of The Photo Pillows DIY


Related Post from Photo Pillows Awesome Gift